

Hot melt glue is a staple in woodworking, offering quick bonding and strong adhesion. However, one of the most common challenges woodworkers face is preventing hot melt glue from dripping. As a supplier of Woodworking Hot Melt Adhesive and Woodworking Hot Melt Glue, I understand the importance of a clean and efficient glue application. In this blog, I'll share some practical tips and techniques to help you keep your glue where it belongs and avoid those pesky drips.
Understanding the Causes of Dripping
Before we dive into the solutions, it's essential to understand why hot melt glue drips in the first place. Several factors can contribute to this issue:
- Temperature: Hot melt glue needs to be heated to a specific temperature to become liquid and flowable. If the temperature is too high, the glue becomes too thin and prone to dripping. On the other hand, if the temperature is too low, the glue may not spread evenly and could cause clogs.
- Glue Gun Settings: Different glue guns have different settings for temperature and flow rate. If your glue gun is set to a high flow rate, it can cause the glue to come out too quickly and drip.
- Surface Texture: The texture of the wood surface can also affect how the glue behaves. Smooth surfaces may cause the glue to slide off, while rough surfaces may absorb too much glue, leading to drips.
- Glue Quality: Not all hot melt glues are created equal. Low-quality glues may have inconsistent viscosity, making them more likely to drip.
Choosing the Right Glue
The first step in preventing hot melt glue from dripping is to choose the right glue for your project. As a supplier of Woodworking Hot Melt Glue, I recommend selecting a glue with the following characteristics:
- Proper Viscosity: Look for a glue with a medium to high viscosity. This type of glue will be thicker and less likely to drip.
- Good Flow Properties: The glue should flow smoothly and evenly without clumping or stringing.
- Fast Setting Time: A fast-setting glue will dry quickly, reducing the chances of drips.
- Compatibility: Make sure the glue is compatible with the type of wood you're working with. Some glues may not adhere well to certain types of wood.
Controlling the Temperature
Temperature control is crucial when working with hot melt glue. Here are some tips to help you keep the temperature in check:
- Use a Temperature-Controlled Glue Gun: Invest in a high-quality glue gun with adjustable temperature settings. This will allow you to set the temperature according to the type of glue you're using and the requirements of your project.
- Follow the Manufacturer's Instructions: Each type of hot melt glue has a recommended temperature range. Make sure to follow the manufacturer's instructions to ensure optimal performance.
- Preheat the Glue Gun: Before starting your project, preheat the glue gun for a few minutes to allow the glue to reach the desired temperature. This will help prevent clogs and ensure a smooth flow of glue.
- Avoid Overheating: Overheating the glue can cause it to break down and become too thin, leading to drips. If you notice the glue starting to smoke or smell burnt, turn down the temperature immediately.
Adjusting the Glue Gun Settings
In addition to temperature control, adjusting the glue gun settings can also help prevent dripping. Here's what you can do:
- Reduce the Flow Rate: Most glue guns have a flow rate adjustment knob. Turn this knob down to reduce the amount of glue coming out of the gun. This will give you more control over the application and reduce the chances of drips.
- Use a Fine-Tip Nozzle: A fine-tip nozzle can help you apply the glue more precisely and reduce the amount of excess glue. This is especially useful for small or detailed projects.
- Keep the Glue Gun Upright: When not in use, keep the glue gun upright to prevent the glue from dripping out of the nozzle.
Preparing the Wood Surface
Properly preparing the wood surface can also make a big difference in preventing hot melt glue from dripping. Here are some tips:
- Sand the Surface: Sanding the wood surface will create a rough texture that will help the glue adhere better. Make sure to sand in the direction of the grain to avoid scratching the wood.
- Clean the Surface: Remove any dust, dirt, or debris from the wood surface before applying the glue. This will ensure a clean and smooth surface for the glue to bond to.
- Apply a Primer: If you're working with a particularly smooth or porous wood surface, you may want to apply a primer before using the hot melt glue. A primer will help the glue adhere better and reduce the chances of drips.
Applying the Glue
When applying the hot melt glue, it's important to do it carefully and precisely. Here are some tips to help you apply the glue without dripping:
- Apply the Glue in Short Bursts: Instead of holding down the trigger on the glue gun continuously, apply the glue in short bursts. This will give you more control over the amount of glue being applied and reduce the chances of drips.
- Start at the Edge: When applying the glue to a large surface, start at the edge and work your way in. This will help prevent the glue from spreading out and dripping off the edge.
- Use a Scrap Piece of Wood: If you're unsure how the glue will behave on your project, test it on a scrap piece of wood first. This will allow you to adjust the temperature and flow rate as needed before applying the glue to your actual project.
- Wipe off Excess Glue: If you do get some excess glue on the wood surface, wipe it off immediately with a clean cloth or paper towel. This will prevent the glue from drying and becoming difficult to remove.
Using a Glue Applicator Tool
In addition to a glue gun, there are other glue applicator tools available that can help you apply hot melt glue more precisely and prevent dripping. Here are some examples:
- Glue Sticks with a Precision Tip: Some glue sticks come with a precision tip that allows you to apply the glue in a fine line. This is useful for small or detailed projects.
- Glue Dispenser Bottles: Glue dispenser bottles are a great alternative to glue guns for applying hot melt glue to large surfaces. They allow you to control the flow of glue more easily and reduce the chances of drips.
- Glue Brushes: Glue brushes can be used to apply hot melt glue to small or hard-to-reach areas. They provide a more precise application and can help prevent drips.
Cleaning Up Drips
Even with the best precautions, you may still end up with some hot melt glue drips. Here's how you can clean them up:
- Remove the Dried Glue: Once the glue has dried, you can remove it by gently scraping it off with a putty knife or a razor blade. Be careful not to scratch the wood surface.
- Use a Solvent: If the dried glue is difficult to remove, you can use a solvent to dissolve it. Make sure to choose a solvent that is safe for use on wood and follow the manufacturer's instructions carefully.
- Sand the Surface: If the glue has left a mark on the wood surface, you can sand it down to smooth it out. Make sure to sand in the direction of the grain to avoid scratching the wood.
Conclusion
Preventing hot melt glue from dripping during woodworking requires a combination of choosing the right glue, controlling the temperature, adjusting the glue gun settings, preparing the wood surface, applying the glue carefully, and using the right tools. By following these tips and techniques, you can ensure a clean and efficient glue application and avoid those pesky drips.
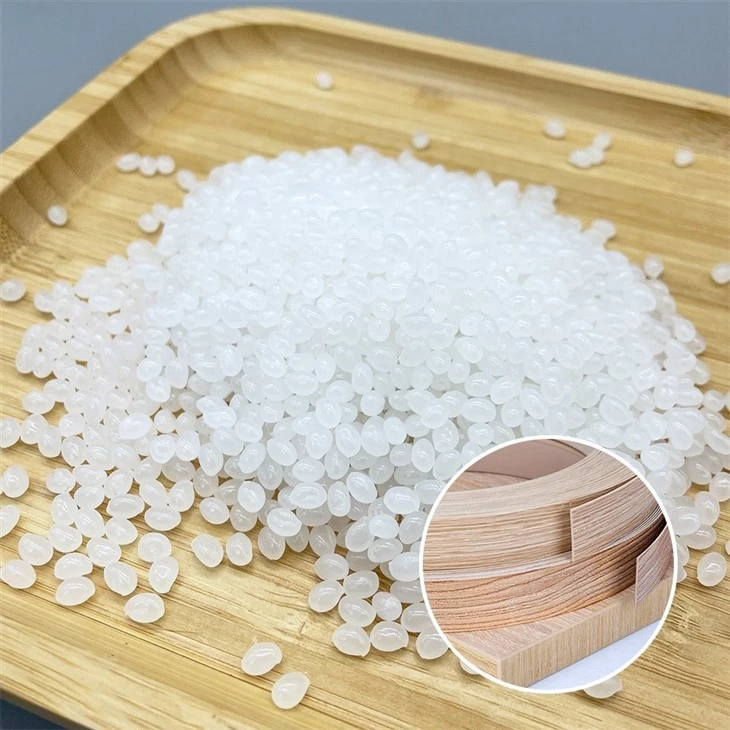
As a supplier of Hot Melt Glue For Edge Banding and other woodworking adhesives, I'm committed to providing high-quality products and excellent customer service. If you have any questions or need further assistance with your woodworking projects, please don't hesitate to contact me. I'd be happy to help you find the right glue for your needs and provide you with any technical support you may require.

References
- "Hot Melt Adhesives: Technology and Applications" by D. Satas
- "Woodworking Handbook" by Robert W. Lang
- Manufacturer's instructions for hot melt glue products